The Evolution of Ripped Jeans Fashion
How to make rips in jeans? Ripped jeans have evolved from punk roots to fashion’s mainstream. This journey reflects changes in style attitudes through the decades.

The Origins and Cultural Significance
Ripped jeans began as a punk symbol in the ’70s. They represented a break from societal norms and a push for individuality. Early adopters were often part of counter-cultures, using their clothing as statements against conformism. As these jeans tore, so did traditional fashion etiquette, paving the way for new trends.
Rebellion was woven into the fabric of these distressed denims. Bands like the Sex Pistols and The Ramones wore them as badges of anti-establishment. Fans soon embraced the trend, spreading the message and the fashion. Ripped jeans were not just clothes; they were a cultural phenomenon, embodying freedom and resistance.
From Punk to Mainstream: The Journey of Ripped Jeans
The ’80s saw ripped jeans break into the mainstream. Icons like Madonna and Kurt Cobain popularized them beyond the punk scene. As these styles hit the streets, they retained their edge but gained broader appeal. They became symbols of cool, revealing that fashion could be both stylish and subversive.
By the ’90s, designers took notice. High-end labels added rips and tears to their lines, offering a refined take on the rough-around-the-edges look. This transformation brought ripped jeans to new audiences. It also offered a nod to their roots, maintaining that original rebellious spirit.
Selecting the Perfect Jeans for Ripping
To start your DIY ripped jeans project, the first step is finding the ideal pair.
Choosing the Right Denim Material
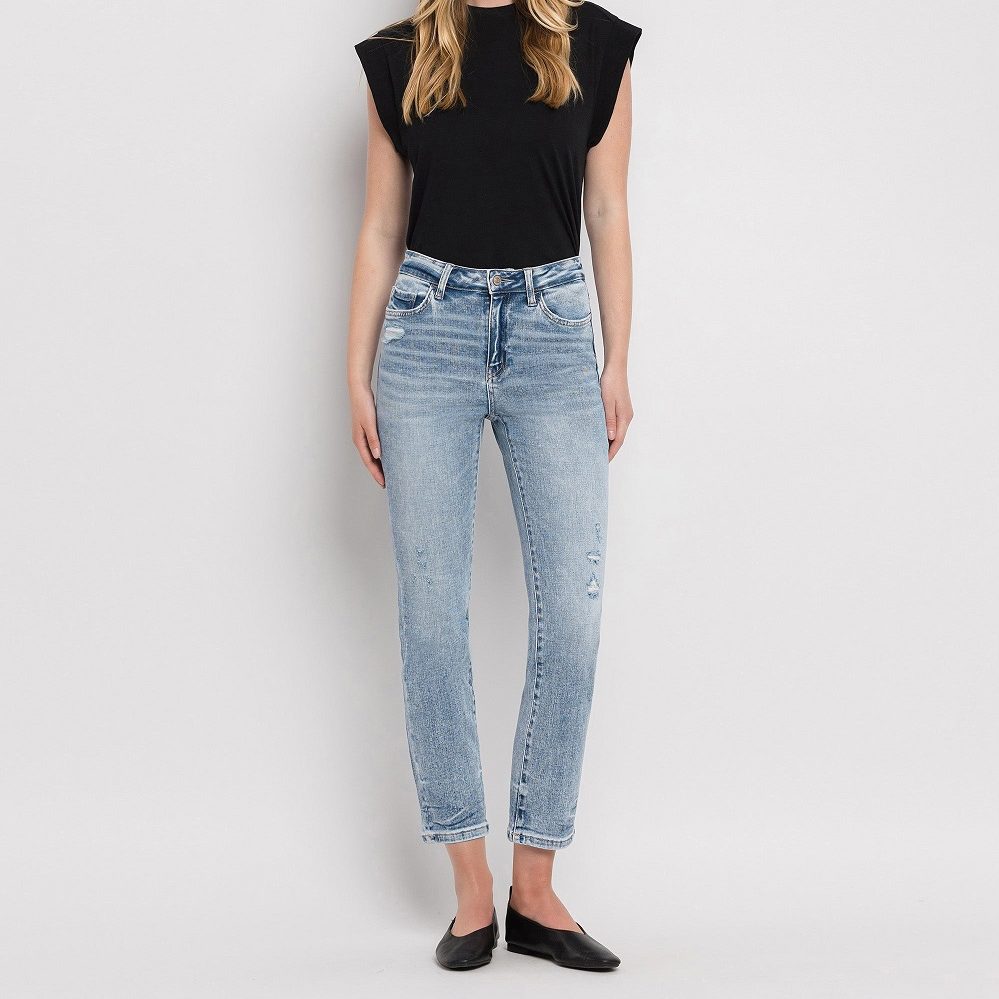
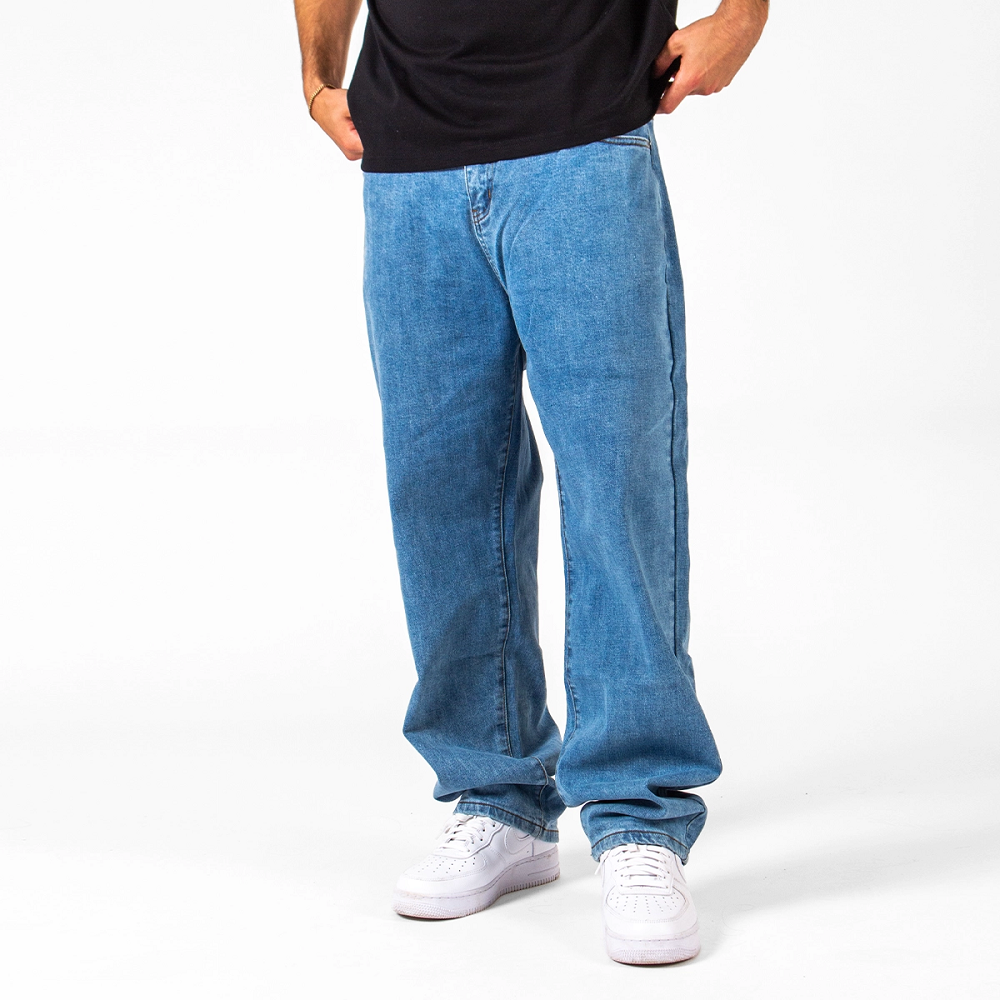
Not all denim is equal when it comes to ripping. Search for thicker, firmer denim; it rips clean and frays nicely. Too thin, and it may tear unpredictably. Choose a pair that isn’t too stretchy. Stretch denim doesn’t rip as well, and the cuts can end up looking jagged.
Understanding the Impact of Fit and Fabric
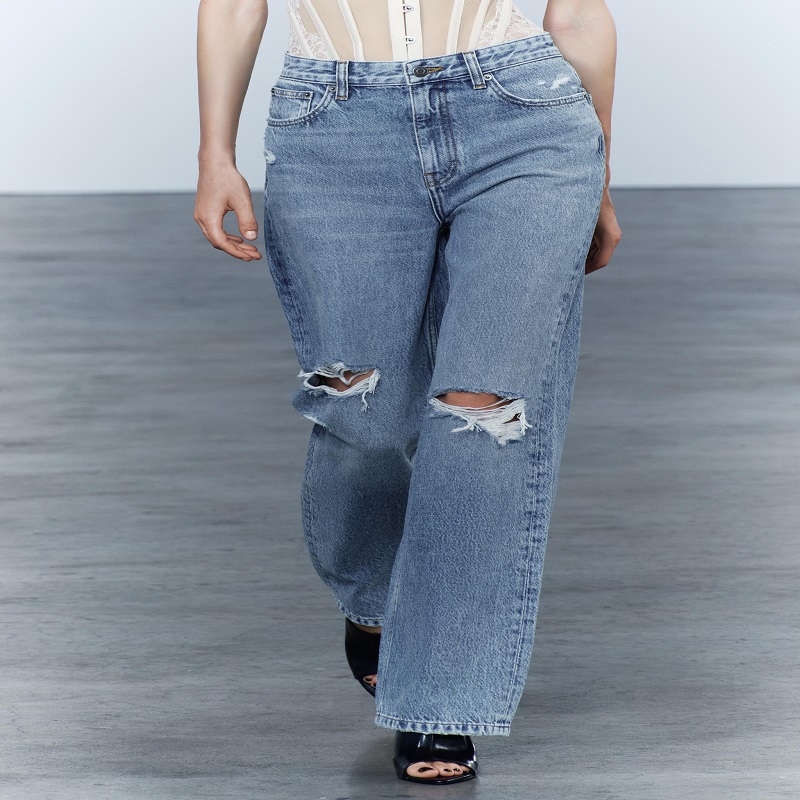
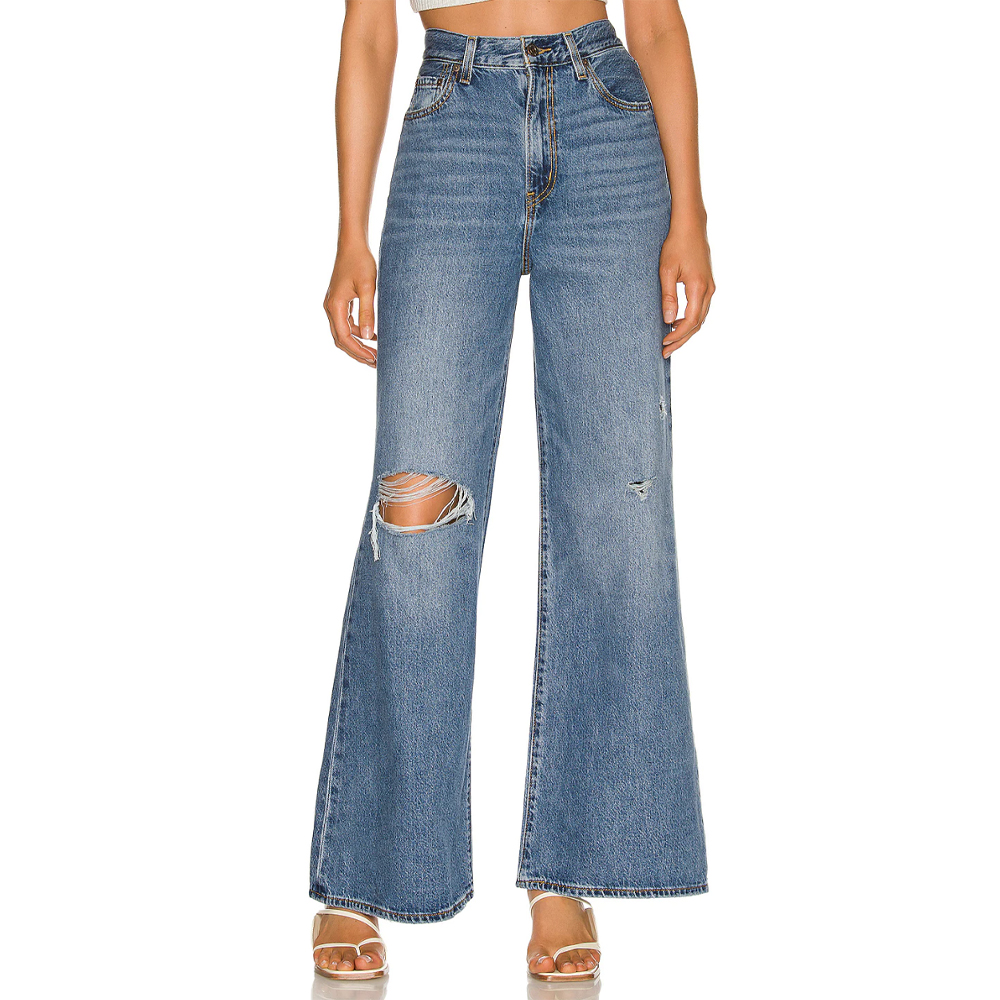
The fit of your jeans matters too. Fitted jeans create dynamic rips at natural tension points like knees and thighs. Loose fits work, but the effect is more subtle. Pay attention to the fabric’s wear over time. Jeans that have softened from wear can offer a more authentic look post-ripping. Remember, how your jeans fit will influence where the rips will look best. Tighter knees on skinny jeans, for instance, make a prime spot for a natural-looking tear. With the right pair of jeans, you’re now ready to design your rips and start the transformation.

Planning Your Ripped Jeans Design
Designing ripped jeans requires thought and precision. Choosing where to rip is a crucial step for style.
Marking the Rips: Strategic Placement for Style
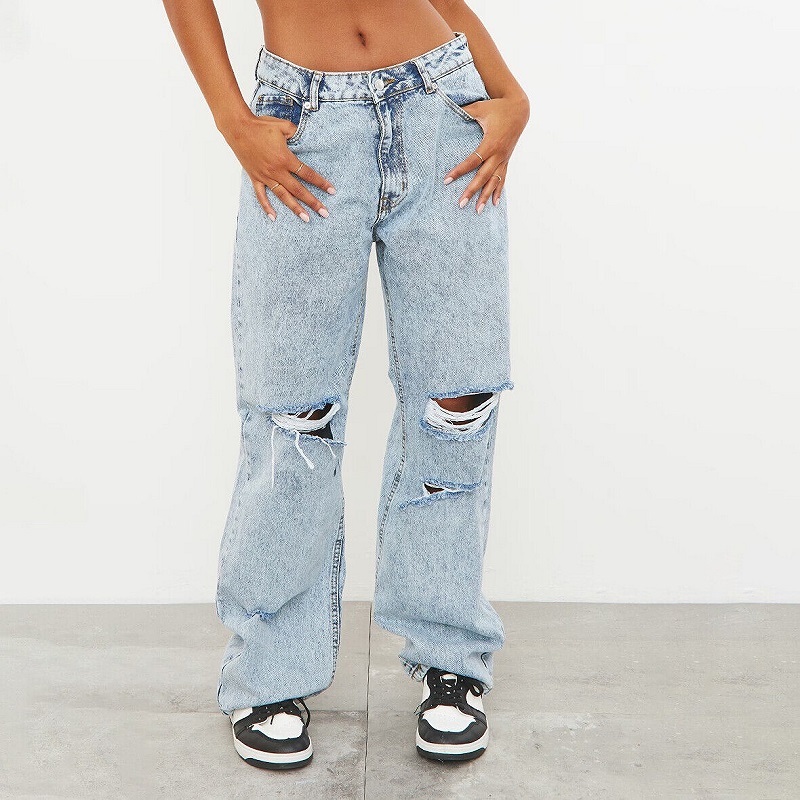
Use chalk or a fabric pencil to mark where you’ll rip. Start with small cuts and increase as needed. Place marks on natural wear points like knees or thighs. Ensure even spacing for a balanced design.
Protective Measures to Prevent Unwanted Tears
Before cutting, insert cardboard inside the jeans. This prevents rips from going through to the other side. Double-check your marks and adjust the cardboard to cover all areas not being ripped. This step will help keep your ripping controlled and intentional.
The Ripping Technique Explained
When mastering the art of creating stylish ripped jeans, precision is key. Each rip and cut offers a chance to customize your fashion statement. Here’s how to ensure your handiwork looks intentional, not haphazard.
Making Precise Cuts for Desired Distressing
Start with purposeful planning. Trace your cut lines with chalk or a fabric marker for accuracy. With sharp scissors, make initial small snips on these marks. Gradually extend the cuts to reach the level of distress you aim for. Always start smaller; it’s easier to enlarge rips than repair oversized ones.
Remember, the beauty of DIY is control. As you cut, consider your jeans’ natural lines and tension areas. Knee regions and pockets typically make great starting points. Precision with the initial snips paves the way for genuine-looking rips, reflecting your style visions.
Mastery of Fraying Edges for Authenticity
Creating authentic-looking ripped jeans doesn’t end with just cutting. Fraying edges is next, and it adds depth to your design. After cutting, use tweezers to tease out threads along the edges. This process enhances the worn-out look of the cuts. Be patient; this step can be meticulous but it’s crucial for authenticity.
When fraying, go thread-by-thread to avoid overdoing it. Your goal is a natural, distressed edge, not a tattered mess. As you work, the vision of your customized ripped jeans will start to reveal itself.
Combine these ripping and fraying techniques, and you’re well on your way to crafting jeans that are as unique as you are. The result will be a pair of perfectly distressed jeans that look store-bought, but with the satisfaction of a DIY project.
Post-Ripping Treatment for Enhanced Style
After you rip your jeans, the right post-ripping treatment can make a huge difference. It’s not just about making the rips; it’s about how you finish the job that counts.
The Role of Washing in Achieving the Natural Worn Look
Washing your ripped jeans is crucial. It turns those fresh cuts into natural-looking wear. Don’t be afraid to put them in the machine after ripping. The wash will fray the edges more and soften the denim. It makes the jeans look like they’ve been worn for years. For best results, use cold water and a gentle cycle. This preserves the denim’s quality and color.
Drying Techniques: Air Dry vs Dryer for Distressed Effects
Drying plays a big part in the final look. Air drying is gentle and gives a subtle distressed effect. It takes longer but is worth the wait for a lighter touch. If you’re aiming for more distress, use a dryer. The tumbling action roughens up the rips and edges well. Keep in mind, too much heat could shrink your jeans or make them too worn. Choose the method that fits the look you’re going for.
Remember, the more you wash and dry, the more distressed your jeans will become. This step is all about achieving that perfect lived-in style. Plan your post-ripping treatments as part of the design process for best results.
Advanced Distressing Methods for Jeans
Creating a pair of ripped jeans isn’t just about the rips themselves. For those looking to elevate their DIY denim, advanced distressing methods can add a unique appeal and even more personality to your jeans. Let’s look at some techniques that can help you make your denim stand out.
Integrating Distressed Patches for Unique Appeal
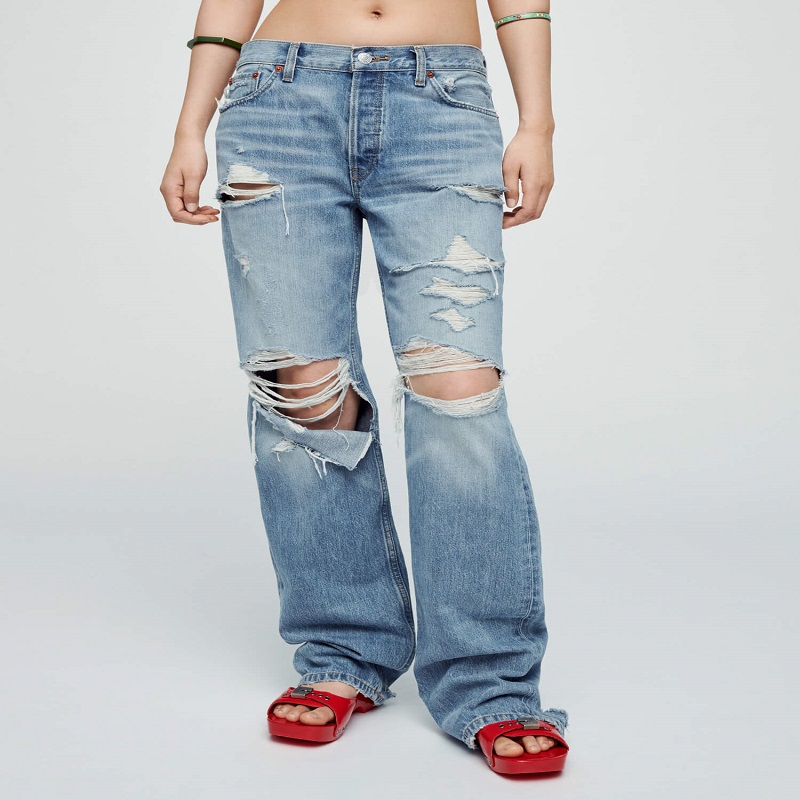
To take your jeans beyond the basic ripped look, consider adding distressed patches. This involves more than creating holes; it’s about crafting areas of texture and variance in the denim. You can start by cutting larger sections and then fraying these areas with sandpaper or a wire brush. These patches can be large or small and placed in various positions, like on the upper thigh or lower leg, to create a stylishly rugged effect.
- Choose where to add patches on your jeans for women for visual interest.
- Cut out larger sections than typical rips for a distinct look.
- Use sandpaper or a wire brush to fray and soften the edges.
- Be creative with the placement and combine with smaller rips for contrast.
Adding distressed patches is a great way to make a statement and showcase your fashion-forward thinking.

Incorporating Personal Touches with Decorative Elements
Personal touches turn a regular pair of ripped jeans into a reflection of your unique style. Once you’ve completed the basic ripping and distressing, you can start to add elements that make the jeans unmistakably yours.
- Sew on patches with designs or messages that resonate with you.
- Attach studs or beads for a touch of glam or edge.
- Experiment with fabric paint or bleach for a pop of color or unique patterns.
- Embroidery can add a handmade touch that’s both personal and trendy.
Combined, these techniques represent the ultimate form of self-expression in denim fashion. With these advanced distressing methods, your jeans will tell a story that’s as individual as you are.
To refine your DIY ripped jeans, experiment with these methods. Start with small patches or minor touches and build on them. And remember, practice makes perfect.
Tips and Tricks for Perfecting Ripped Jeans
Creating your own ripped jeans can be fun and rewarding. Here are some best practices and maintenance tips to help you nail the look and keep your jeans lasting longer.
Best Practices for DIY Jean Ripping
- Use the right tools: Sharp scissors, tweezers, and sandpaper are essential for clean cuts and fraying.
- Plan before you cut: Mark with chalk for precision. Remember, you can always cut more, but you can’t undo a rip.
- Rip at natural wear points: Places like knees and thighs usually look the most natural.
- Keep rips proportional: Large rips on skinny jeans can look overwhelming. Match the rip size to the jeans’ style.
- Practice on old jeans: Before starting on a good pair, practice your technique on an older pair you don’t mind losing.
How to Maintain the Quality of Your Ripped Jeans
- Wash gently: Use cold water and a gentle cycle to avoid further fraying and fading.
- Don’t overwash: Washing too frequently can damage the denim and rips over time.
- Air dry when possible: Air drying preserves the denim’s integrity and prevents additional fraying.
- Store properly: Fold your jeans or hang them up to avoid new creases or stress on the ripped areas.
- Repair when necessary: If rips get too big, consider patching from behind or using denim glue for small tears.
Follow these tips to make sure your ripped jeans come out looking great and stand the test of time. Happy ripping!