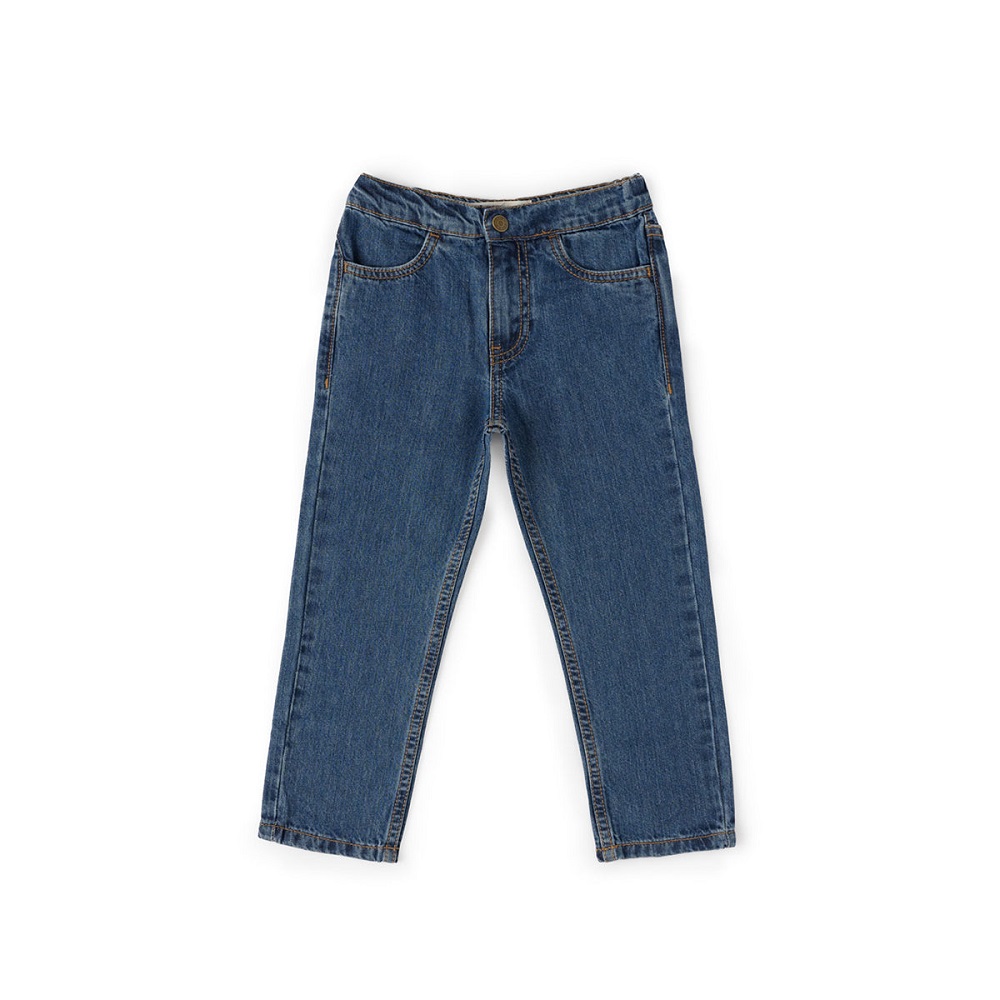
How to take in jeans at waist? Jeans are a staple in most people’s wardrobe, but it can be frustrating when they don’t fit properly. One common issue with jeans is that they may fit well in the legs but are too loose in the waist. Taking in jeans at the waist is a simple and cost-effective solution to this problem. In this guide, we will provide you with step-by-step instructions on how to take in jeans at the waist.

Assessing the Fit
Before you begin altering your jeans, it’s important to assess the fit and determine how much you need to take in at the waist. Put on the button on jeans and use a mirror to evaluate how loose they are in the waist. Take note of how much excess fabric there is and how much tighter you would like the waistband to be. This will help you determine how much fabric you need to remove.
Gathering Supplies
To take in your jeans at the waist, you will need a few supplies. Here is a list of what you will need:
- Sewing machine
- Matching thread
- Sewing pins
- Scissors
- Seam ripper
- Measuring tape
Once you have gathered all of your supplies, you are ready to begin the alteration process.
Marking the Waistband
Start by marking the waistband of the jeans where you want to take them in. Use sewing pins to mark the new seam line, making sure to distribute the excess fabric evenly around the waistband. Double check that the pins are evenly spaced and secure.
Removing the Original Stitching
To begin the alteration, you will need to remove the original stitching from the waistband. Carefully use a seam ripper to unpick the stitches. Be sure to only remove the stitching that is necessary for the alteration; you don’t want to undo any stitched areas that are not part of the alteration.
Taking in the Waistband
Once the original stitching has been removed, it’s time to take in the waistband. Use a sewing machine to sew along the new seam line that you marked with the sewing pins. Make sure to backstitch at the beginning and end of the new seam to secure the stitches. Trim away any excess fabric, leaving a small seam allowance to prevent fraying.

Reattaching the Waistband
After taking in the waistband, it’s time to reattach it to the jeans. Fold the waistband back down and use sewing pins to secure it in place. Use a sewing machine to stitch along the top of the waistband, securing it to the jeans. Be sure to use a matching thread color to ensure a seamless finish.
Finishing Touches
Once the waistband has been reattached, it’s time to make any final adjustments. Try on the jeans to make sure the fit is to your liking. If necessary, make any additional alterations to ensure the waistband fits comfortably. Once you are satisfied with the fit, trim any excess threads and iron the waistband to ensure a smooth finish.
How to design jeans DIY
Jeans are a timeless fashion staple that can be found in almost everyone’s wardrobe. They are comfortable, versatile, and easy to style. However, sometimes it can feel like everyone has the same pair of jeans. If you want to stand out from the crowd and add a personal touch to your denim, DIYing your jeans is a great way to do so. From adding embroidery to distressing and patching, there are countless ways to customize your jeans to make them uniquely your own.
Embellishing with Embroidery
One of the most popular ways to take in jeans is by adding embroidery. This is a great option for anyone who loves a touch of whimsy and color in their wardrobe. You can use embroidery floss to create intricate designs such as flowers, animals, or even abstract patterns. All you need is a needle, some colorful thread, and a bit of creativity to get started.
To begin, choose a design that you would like to embroider onto your jeans. You can find inspiration from embroidery patterns online or come up with your own unique design. Once you have your design in mind, use a disappearing fabric marker to trace the design onto your jeans. Then, thread your needle with the embroidery floss and start stitching! You can use a variety of stitches such as backstitch, satin stitch, or French knots to bring your design to life.
Distressing and Patching
If you prefer a more edgy and worn-in look, distressing and patching your jeans is a great DIY option. You can achieve this look by using tools such as sandpaper, a box cutter, or a seam ripper to create natural-looking wear and tear on your denim. This can be done on the knees, pockets, or along the hem for a lived-in and vintage feel.
In addition to distressing, you can also patch up any holes or tears in your jeans with fun and funky fabric patches. Whether you choose to use floral, plaid, or denim patches, this is a great way to add a pop of color and personality to your denim. Simply use fabric glue or stitch the patches onto your jeans for a unique and personalized look.

Bleaching and Dyeing
Another way to give your jeans a new look is by bleaching or dyeing them. Bleaching can give your denim a cool, faded effect, while dyeing can completely change the color of your jeans. There are many techniques for achieving different effects when it comes to bleaching and dyeing, so the possibilities are endless.
For a bleached effect, you can create patterns such as splatters, tie-dye, or ombre by applying bleach to your jeans in different ways. If you want to dye your jeans a different color, you can use fabric dye in a variety of colors to create a whole new look. Whether you choose a vibrant color like red or blue or a more subtle color like pastel pink or gray, dyeing your jeans is a fun and creative way to transform them.
Accessorizing with Patches and Studs
If you want to add some extra flair to your jeans, consider accessorizing with patches and studs. You can find a wide variety of patches in different shapes, sizes, and designs, such as stars, skulls, or logos, to customize your denim. Whether you choose to stitch them on or use fabric glue, patches are an easy way to add a personal touch to your high rise jeans.
In addition to patches
Studs can also be used to embellish your denim. You can find studs in various shapes and colors to create designs such as stars, hearts, or geometric patterns. All you need is a stud setter and a hammer to secure the studs onto your jeans for an edgy and customized look.
Conclusion
Taking in jeans at the waist is a simple and cost-effective way to ensure a better fit. By following the steps outlined in this guide, you can easily alter your jeans to fit comfortably at the waist. With the right tools and a little bit of patience, you can achieve a custom fit that will make your jeans look and feel great. So, don’t let ill-fitting jeans cramp your style – take matters into your own hands and give your jeans a new lease of life!