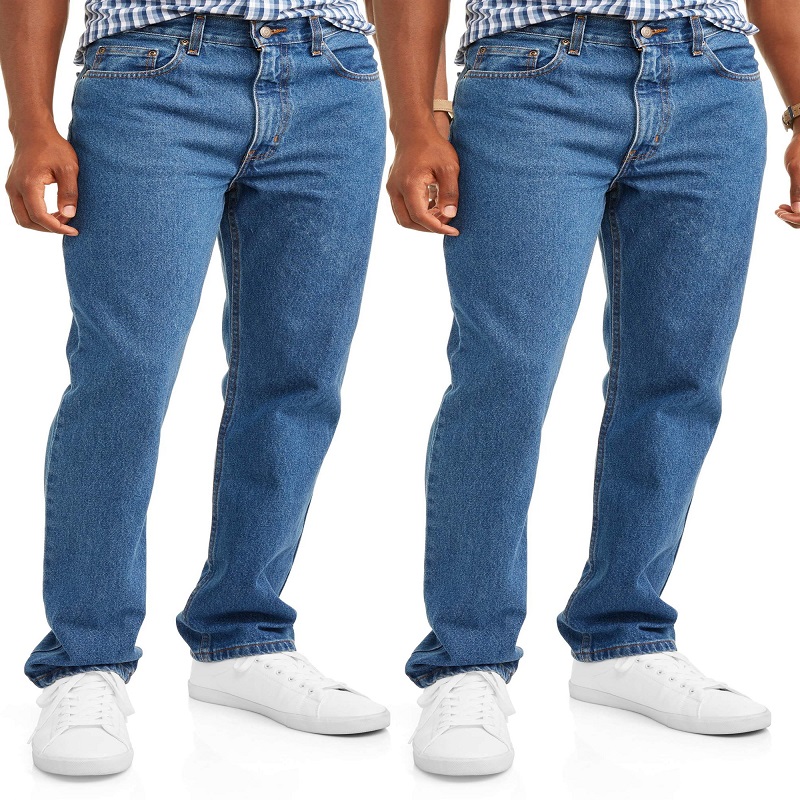
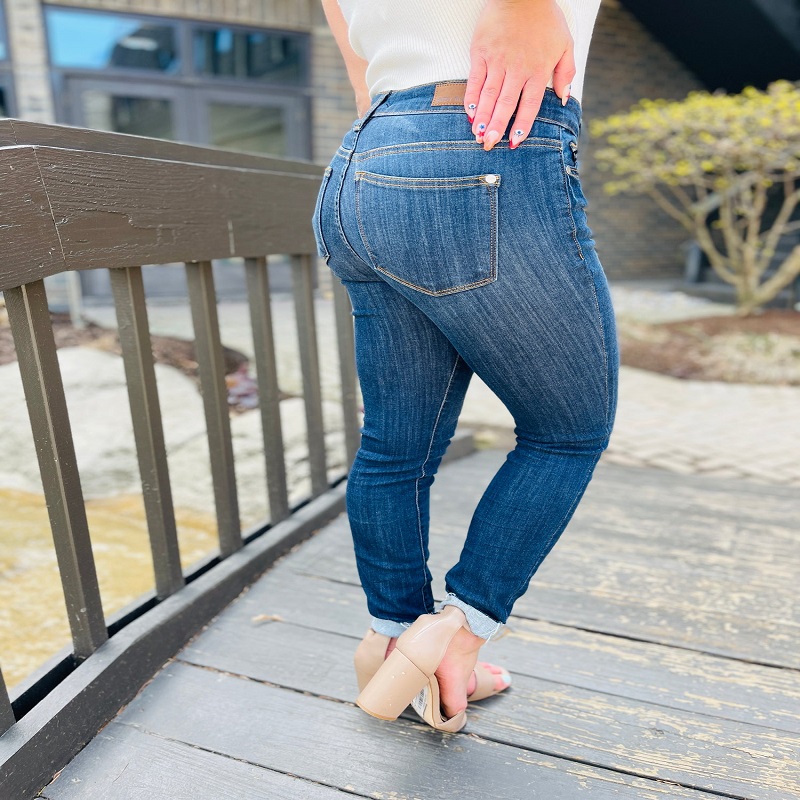
Assessing the Fit of Your Jeans
Before you learn how to take in jeans, check their current fit. Put your jeans on and stand in front of a mirror. Notice how they sit on your waist, hips, and thighs. They should hug your body comfortably without squeezing. Check for any gaping at the waistband, which is a common issue. If the jeans are too loose around your thighs or knees, mark these areas. Make sure to bend and sit down to see how the jeans adapt to movement. Look for any bunching or sagging fabric. These signs tell you where alterations are needed. Remember, a good fit is key to looking and feeling great in your tailored jeans. By assessing the fit accurately, you can make precise alterations for that perfect fit.

Tools and Materials Needed for Tailoring Jeans
To tailor your jeans for a better fit, you need the right tools. Here’s what you’ll need:
- Sewing Machine: A durable machine that can handle denim fabric.
- Denim Needles: These are stronger than regular needles and prevent breakage.
- Thread: Choose a heavy-duty thread that matches the color of your shrink jeans.
- Seam Ripper: For undoing stitches when making adjustments.
- Fabric Scissors: Sharp scissors are crucial for clean cuts.
- Measuring Tape: Essential for taking accurate measurements.
- Straight Pins: To hold the fabric in place before sewing.
- Chalk or Fabric Marker: To mark where alterations are needed.
- Iron: For pressing the seams flat.
Gather these items and set up a comfortable workspace. Make sure you have good lighting. This helps you see the markings and stitches clearly. With these tools at hand, you are ready to learn how to take in jeans.
Measuring Your Jeans for Alterations
To ensure your jeans fit like a glove, accurate measurements are crucial. Start by wearing the jeans you want to alter. Make sure they are buttoned up and sitting comfortably at your waist. Use a measuring tape to take measurements from the waist, hips, inseam, and any other areas you marked as needing adjustments. Write these numbers down as a reference. If you’re reducing the waist size, measure the gap at the back of your jeans. For thighs or knees, measure how much fabric you can pinch for a snug fit.
Next, turn your jeans inside out and lay them flat on a surface. Measure the same areas on the jeans directly. Compare these measurements with your body measurements. The difference will guide you in knowing how much to take in for a perfect fit. Pinch and pin the excess fabric along the seams where you need the jeans to be tighter. Use chalk or a fabric marker to draw a line where you will sew. This will be your sewing guideline.
Remember to make small adjustments at a time. It’s better to take in a little and adjust as needed than to over-tighten and be unable to reverse the process. Always double-check your measurements before you cut or sew. Mistakes can be difficult to fix, especially with denim material.
By measuring carefully and preparing adequately, you’re on your way to tailoring jeans that not only fit better but also enhance your comfort and style.
The Tailoring Process: Step-by-Step
Now that you have your tools and measurements ready, let’s dive into how to take in jeans. Follow this step-by-step guide to ensure your skinny jeans baggy come out looking professionally tailored.
- Marking the Adjustments:
Begin by turning your jeans inside out. Lay them flat on a surface. Use your chalk or fabric marker to draw lines along the areas where you’ve pinned the excess fabric. These lines serve as your sewing guides.
- Basting the New Seams:
Before making any permanent alterations, baste along the marked lines. Basting means sewing with long, temporary stitches. This step lets you try on the jeans to check the fit before the final sewing.
- Fitting Check:
After basting, turn the jeans right side out and try them on. Move around to make sure they fit comfortably. Pay attention to the areas where you’ve made adjustments. If they’re too tight or too loose, carefully remove the basting stitches and adjust your markings.
- Sewing the Seams:
Once you’re satisfied with the fit, sew along the basting lines with your sewing machine. Use a denim needle and heavy-duty thread. Don’t forget to backstitch at the start and end of each seam for durability.
- Trimming Excess Fabric:
After sewing the new seams, trim the excess fabric leaving about a half-inch seam allowance. This prevents the denim from fraying and maintains the jeans’ structure.
- Finishing:
Finally, press the seams flat with an iron. This gives your jeans a clean, crisp finish. Turn the jeans right side out and try them on one last time to admire your work.
By following these steps, you’ll have jeans that fit perfectly around your waist, hips, and legs. Remember, patience and precision are key in the tailoring process. Happy sewing!

Sewing Techniques for Denim Alterations
When tailoring jeans, the right sewing techniques make all the difference. Ensure success by following these tips.
Choose the Correct Stitch Setting
Select a stitch setting suitable for denim. A longer stitch length around 3 to 4 works best. It handles thick fabric better and prevents needle breakage.
Reinforce Your Seams
Denim is heavy, so reinforce your seams. After sewing, go back and stitch over them again. This doubles their strength.
Gradual Seam Allowances
For smooth transitions, taper your seam allowances gradually. This avoids unsightly bumps and ensures a sleek silhouette. Your tighten jeans should have a seamless look after alterations.
Use Denim Needles
A denim needle can pierce through heavy fabrics without breaking. Always have extras on hand. Changing your needle often ensures it’s sharp and ready for the tough denim material.
Match the Original Hem
If you shorten your jeans, recreate the original hem. This maintains the jeans’ integrity and appearance. Always iron the hem before you sew.
Be Consistent with Thread Color
When you learn how to take in jeans, color consistency is key. Use thread that matches your jeans’ original stitching. This keeps the alterations discreet.
By following these techniques, you will achieve a tailored look that appears professional. Remember to sew carefully and test the fit frequently. Take your time and don’t rush the process. Well-tailored jeans are worth the effort!
Troubleshooting Common Tailoring Challenges
Even when knowing how to take in jeans, you may face some tailoring hurdles. Here are common challenges and how to solve them.
Uneven Stitching
Sometimes stitches may come out uneven, especially when working with thick denim. Go slow and ensure even tension. If a stitch is off, simply remove it with a seam ripper and try again.
Fabric Puckering
Denim can pucker if not handled correctly. Use a proper denim needle and avoid pulling the fabric while sewing. Iron the denim flat before and after you make your stitches.

Breaking Needles
Jeans fabric is tough and may cause needle breaks. Always use heavy-duty denim needles. Reduce sewing speed and replace needles regularly to prevent breakage.
Seams Not Lining Up
Jeans have thick seams that can shift during sewing. Pin the fabric well and check alignment as you go. Sew carefully to maintain a straight line.
Adjustments Are Too Tight
Taking in jeans too much can lead to a tight fit. Baste first and then try on your high rise jeans. Re-adjust if you’ve taken in too much before the final sewing.
Thread Tension Issues
Incorrect thread tension can lead to loose stitches. Check your sewing machine’s manual to set the right tension for denim. Doing a test run on a denim scrap helps.
By addressing these challenges with patience and care, you can achieve a perfect fit. Tailoring jeans at home takes practice, but the results are rewarding.
Caring for Your Tailored Jeans
Once you’ve mastered how to take in jeans and achieved that perfect fit, caring for them is essential. Proper care ensures your tailored jeans last longer and retain their shape. Here are practical tips to care for your tailored jeans.
- Wash Less Often: Denim does not require frequent washing. Less washing prevents fading and wear.
- Use Cold Water: When washing, choose cold water. It helps maintain the color and fit of the denim.
- Turn Inside Out: Wash your baggy jorts inside out. This protects the outer surface from abrasion and maintains the color.
- Gentle Cycle or Hand Wash: Opt for a gentle cycle on your machine, or hand wash to minimize stress on the fabric.
- Avoid Bleach: Bleach can weaken denim fibers and alter the color. Keep your jean away from bleach.
- Air Dry: Skip the dryer. Hang your jean to air dry. This prevents shrinking and conserves energy.
- Iron If Needed: If you must iron, use a warm setting and iron inside out. This keeps the finish looking new.
- Store Properly: Hang your jean or fold them neatly. Proper storage prevents unwanted creases.
By following these care guidelines, your tailored jean will stay in great shape, fitting well and looking fresh wear after wear. Regular checks for any needed touch-ups keep them perfect for longer. Remember, a little attention goes a long way in extending the life of your tailored jean.